
Mini-series
This article is part of a mini-series about the Development Hub.
Part 1 - Introduction
Part 2 - Environment Setup (this article)
Part 3 - Configuring Development Hub
Part 4 - Development Hub usage
Introduction
This step-by-step tutorial will guide you on setting up several Power Platform environments for optimal use with the development hub. Leveraging the power platform admin center, you will learn how to create three distinct environments (development, extract, and continuous integration), how to use Azure Active Directory to generate an application user and how to register the new user across all three power platform environments with System Administrator rights.
Essential Prerequisites
Before embarking on your journey with the Power Platform environments, it's vital to ensure some prerequisites are met:
Access to a PowerApps Tenant: You need to have the role of a Dynamics 365 admin or Power Platform admin (or Global Admin works fine too of course 😉). The Dynamics 365 Admin or Power Platform Admin role is necessary for creating instances.
Azure DevOps Organization: You need to have an Azure DevOps organization with a project created in it.
Access Level in Azure DevOps: Ideally, you should request your account to have Project collection administrator access in Azure DevOps. This permission is needed to enable you to install the required third-party extensions to Azure DevOps, which are used by our tooling. However, if you face difficulties obtaining this, at a minimum, you will need Project administrator access for an Azure DevOps project to request the extensions' installation by a Project collection administrator.
Installing Required Tools
Project collection administrator access allows you to install certain tools without approval. If this isn't possible, then Project administrator will enable you to request the installation of these tools to an Azure DevOps organization. The following tools are crucial:
Here's how you can install them:
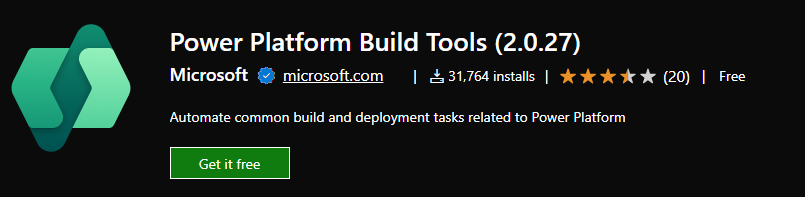
- Open the Power Platform Build Tools link.
- Click on "Get it free".
- You'll be asked to select an Azure DevOps organization. Select your Azure DevOps organization and click on "Request".
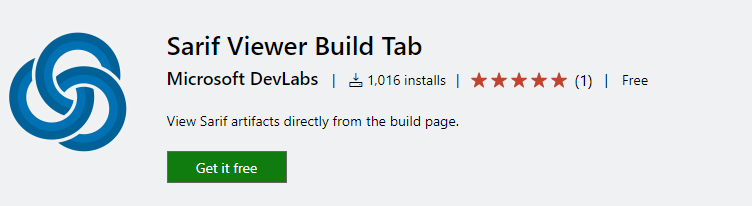
Repeat these steps for Sarif Viewer Build Tab.
To install the Package Deployer and the CRM connector open up a PowerShell windows as administrator and put in the following command while confirming every question with yes.
Install-Module Microsoft.Xrm.Tooling.PackageDeployment.Powershell
Install-Module Microsoft.Xrm.Tooling.CrmConnector.PowerShell
Power Platform Environment Creation
The next step is to open up the 'Power Platform admin center' as an admin (Dynamics 365 admin, Global admin, or Power Platform admin).
We need at least two Dataverse environments (we are going to use 3 in our guide); One Dataverse environment acts as the development environment. The other environment(s) are referred to as 'master' environments. For more information on the purpose of a master environment, refer to the Solution Lifecycle Management document published by Microsoft.
The creation of multiple environments is crucial because it allows for the separation of different stages of development. For example, you can use one environment for development, another for testing, and a final one for production. This separation ensures that each stage of development can be handled independently, thus reducing the chances of errors slipping through into the final product.
If you're not automatically redirected, navigate to "Environments" in the left-hand pane and click on "New". You'll be asked to fill in some details regarding your new environment.
Name | {Project name}Development e.g. ALMDevelopment |
Type | Sandbox |
Region | {choose your preferred region} |
Purpose | Include project name and reason for creating the environment e.g. ALM for project X |
Create a database for this environment | Yes |
Select Next to move onto the next set of fields.
Language | English |
URL | [Project name][environment name] e.g. ALMDevelopment |
Currency | EUR |
Enable Dynamics 365 Apps | {This depends on your project} |
Deploy sample apps and data | No |
Security group | Set to None |
Repeat these steps for each of the three environments you need to create: Development, Master, and CI.
Understanding the Importance of Azure Active Directory
The application registered in Azure Active Directory is the backbone of our development tooling, primarily Azure DevOps and Development Hub. It facilitates:
- The Development Hub to extract and import solutions across environments.
- The ability to call Microsoft's Solution checker for the Power Platform in an Azure DevOps build to verify the quality of a solution.
The script that we are going to use to deploy the package will create a App registration and a ApplicationUser.
Azure Active Directory Setup
The application in Azure Active Directory gives our development tooling, primarily Azure DevOps and Development Hub, the ability to talk to Dynamics 365. It enables:
- Development Hub to extract and import solutions across environments
- Allows to call Microsoft's Solution checker for the Power Platform in an Azure DevOps build to verify the quality of a solution
To set up Azure Active Directory:
- Navigate to Azure Active Directory.
- From the left panel, choose Azure Active Directory > Applications > App registrations.
- Choose "+ New registration".
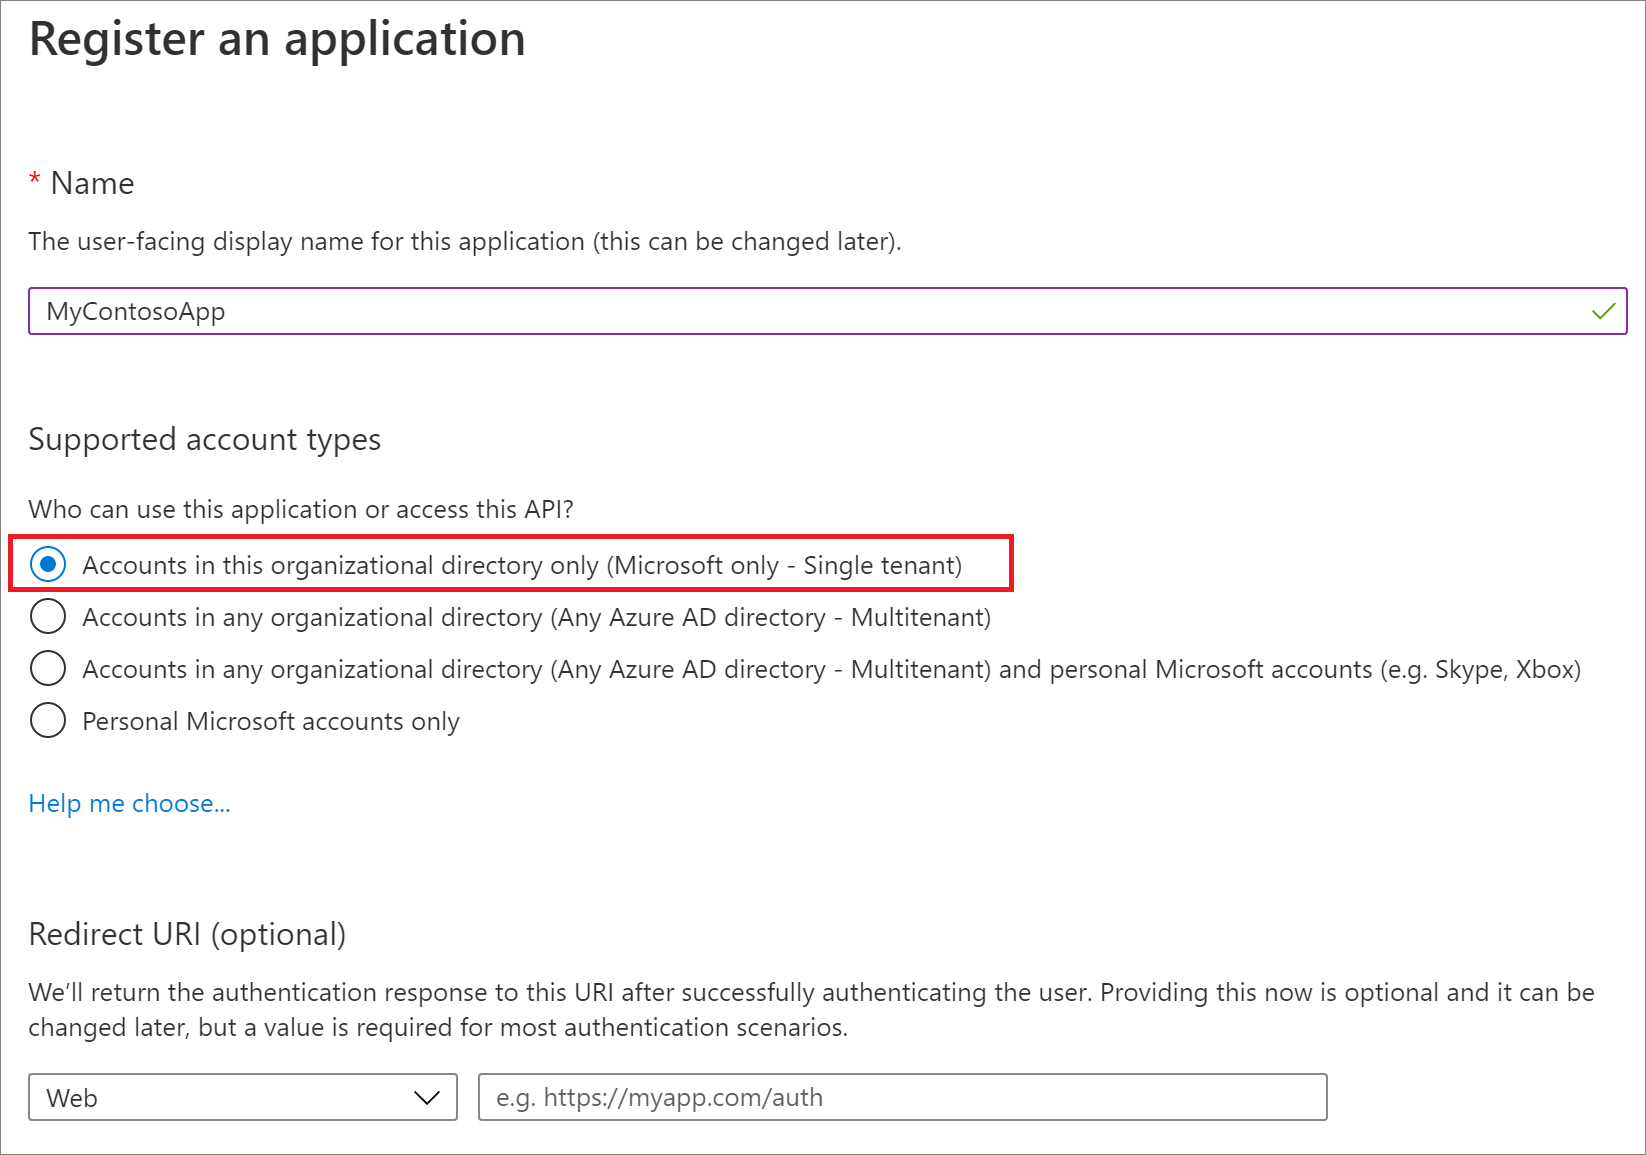
In the "Register an application form", provide a name for your app (like DevHub), select "Accounts in this organizational directory only", and click on "Register". A redirect URI is not needed for this walkthrough.
On the Overview page, select API permissions
Choose + Add a permission
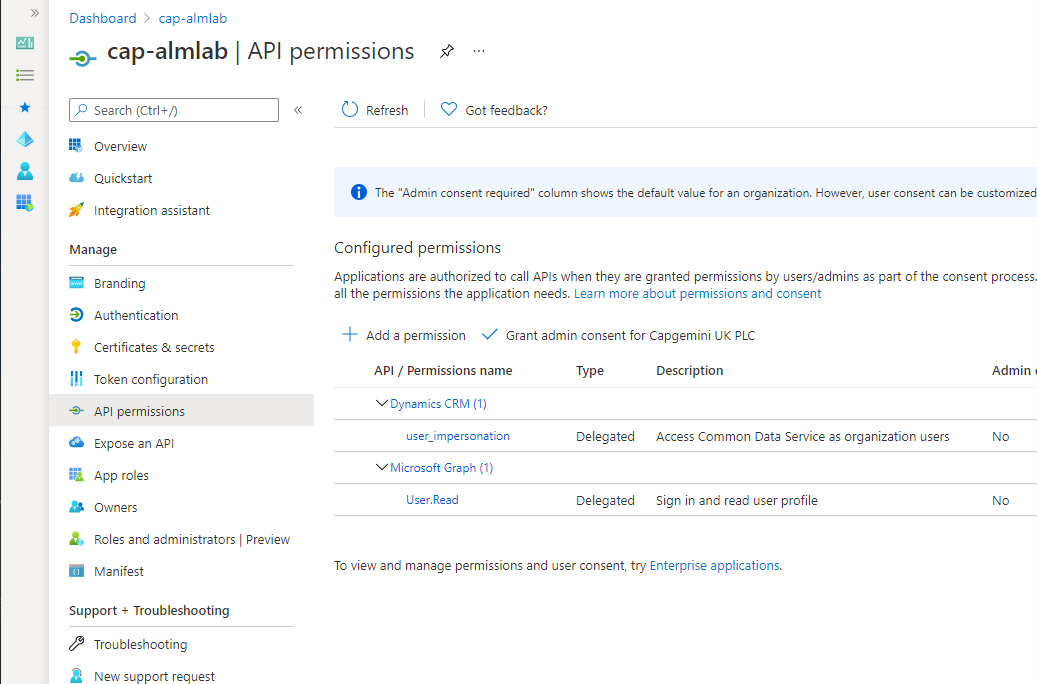
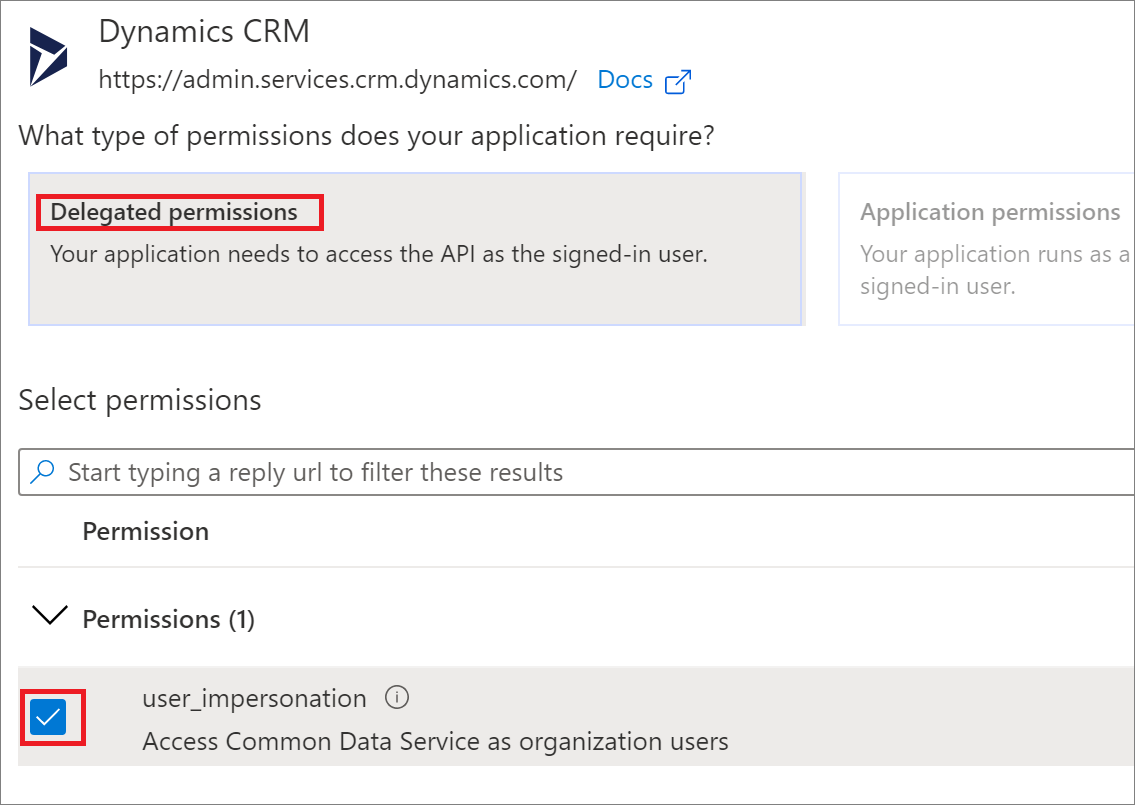
In the Microsoft APIs tab, choose Dynamics CRM
In the Request API permission form, select Delegated permissions, check user_impersonation, and select Add permissions
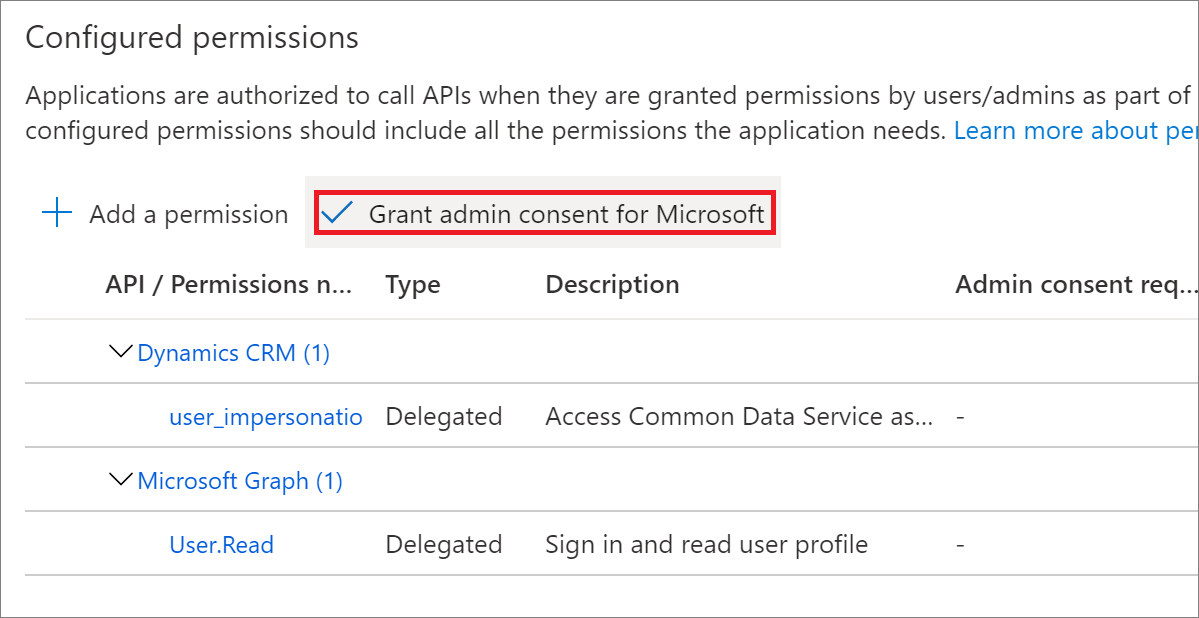
On the API permissions page select Grant admin consent for "org-name" and when prompted choose Yes
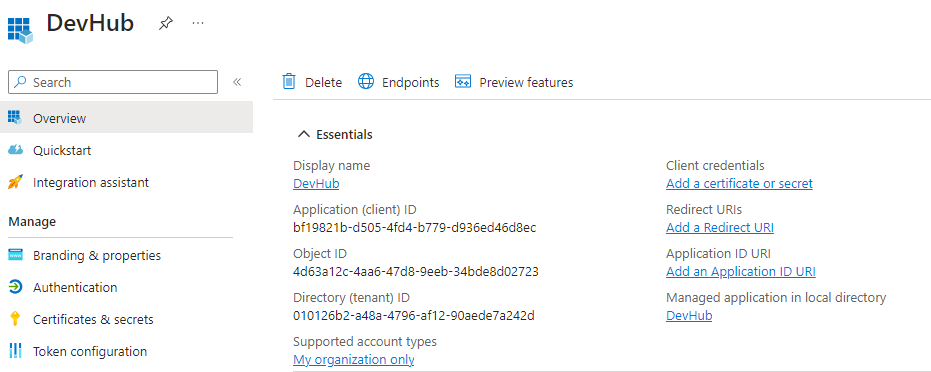
In the navigation panel, select Certificates & secrets
Below Client secrets, choose + New client secret to create a secret
In the form, enter a description and select Add.
If your CI and Master environment are in another tenant you will need to do these steps again for those tenants. If not you may use the same appregistration 3 times if you wish.
Setup flow & DevOps connections
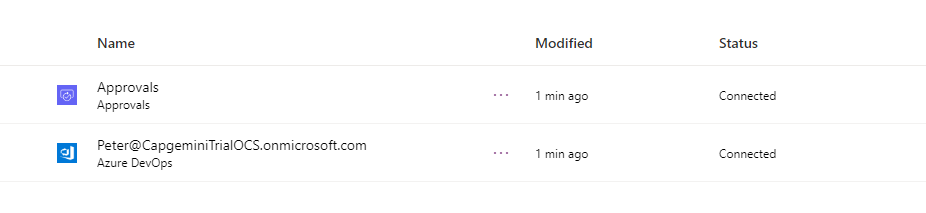
Development Hub utilizes two data connections, Approvals and Azure DevOps, which need to be first created before you can install the package.
First, check you are within your Development environment which is displayed at the top right of the page. If you aren't, select the environment name and then your Development environment.
Within the Maker Portal, go to your dev environment. and navigate to Connections (if you can't see it, it might be under '...more'.
Now to create our connections by selecting New Connection and search for Approvals if you don't see it in the list. Click the plus button next to it then Create in the open dialog.
Once successful, repeat the previous instruction searching for Azure DevOps.
You will know you are successful if the Connection name has the expected email address.
Open the connections and note the connection names by taking them from the URLs, which will be in the format 'environments/environmentid/connections/apiname/connectionname/details'.
Deploy the Development Hub package
Now that the required connections are created, let's install the Development Hub package.
First, download the latest package by following this link to the Releases on GitHub. For the latest release, expand the assets and download the first zip file.

Once downloaded, unzip the file and open the ‘Development Hub' folder inside.
Copy the below PowerShell into a notepad and replace the four parameters and the package location denoted by <...>
$conn = Get-CrmConnection -InteractiveMode

$settings = [PSCustomObject]@{
  'ConnRef:devhub_sharedapprovals_6d3fc' = '<the connection name of the Approvals connection>'
  'ConnRef:devhub_sharedvisualstudioteamservices_d7fcb' = '<the connection name of the Azure DevOps connection>'
  'AzureDevOpsOrganisation' = '<the name of the Azure DevOps organisation>'
  'SolutionPublisherPrefix' = '<the prefix of the publisher (without leading underscore)>'
}
$settingsArray = $settings.PSObject.Properties | ForEach-Object { "$($_.Name)=$($_.Value)" }
$runtimePackageSettings = [string]::Join("|", $settingsArray)

Import-CrmPackage -CrmConnection $conn -PackageDirectory '<location of Development Hub folder>' -PackageName 'DevelopmentHub.Deployment.dll' -RuntimePackageSettings $runtimePackageSettings -Verbose
For example:
$conn = Get-CrmConnection -InteractiveMode
$settings = [PSCustomObject]@{
'ConnRef:devhub_sharedapprovals_6d3fc' = '9dfadf8a97584f29aa8e3296afca37e7'
'ConnRef:devhub_sharedvisualstudioteamservices_d7fcb' = '74a57584f8414d678dcb4a6593b41c4b'
'AzureDevOpsOrganisation' = 'cxsummitalmdemo'
'SolutionPublisherPrefix' = 'cg'
}
$settingsArray = $settings.PSObject.Properties | ForEach-Object { "$($_.Name)=$($_.Value)" }
$runtimePackageSettings = [string]::Join("|", $settingsArray)
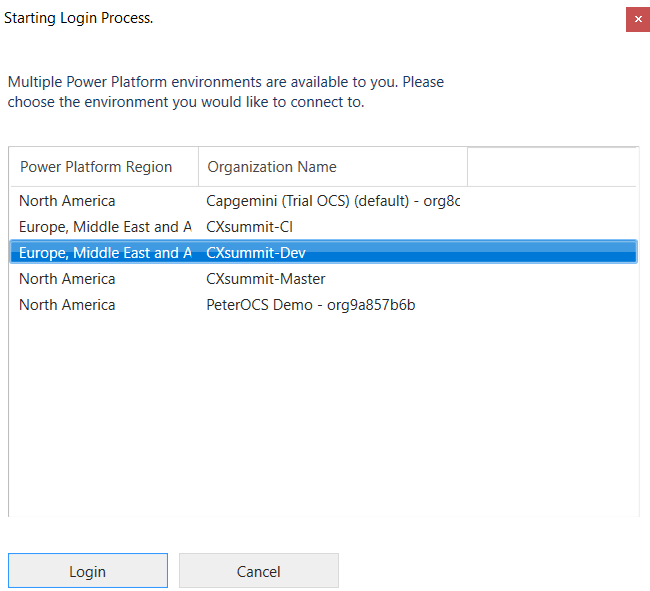
Import-CrmPackage -CrmConnection $conn -PackageDirectory 'C:\Users\pruiter\Downloads\Development.Hub.v0.2.30\Development Hub' -PackageName 'DevelopmentHub.Deployment.dll' -RuntimePackageSettings $runtimePackageSettings -VerboseYou'll be first asked to sign in. Select ‘Display list of organisations' then ‘Login'.
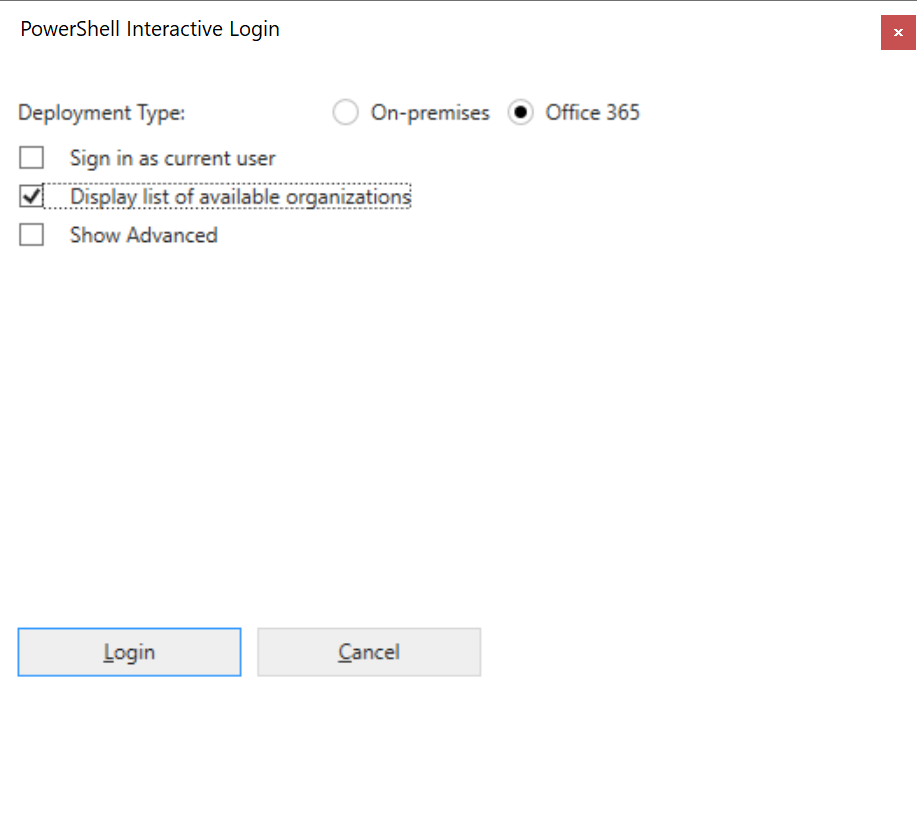
Enter your account details in the login prompt (it is sometimes hidden behind the window).
Select your development environment then ‘Login'.
Wait for the install to complete with a successful result then close the PowerShell window.

Setting up the Repository
Development Hub requires a pre-made pipeline to handle the merge of extracted changes into the code repository.
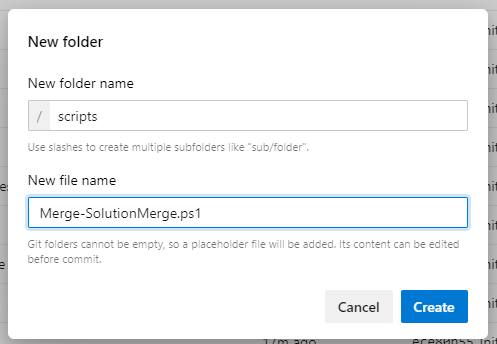
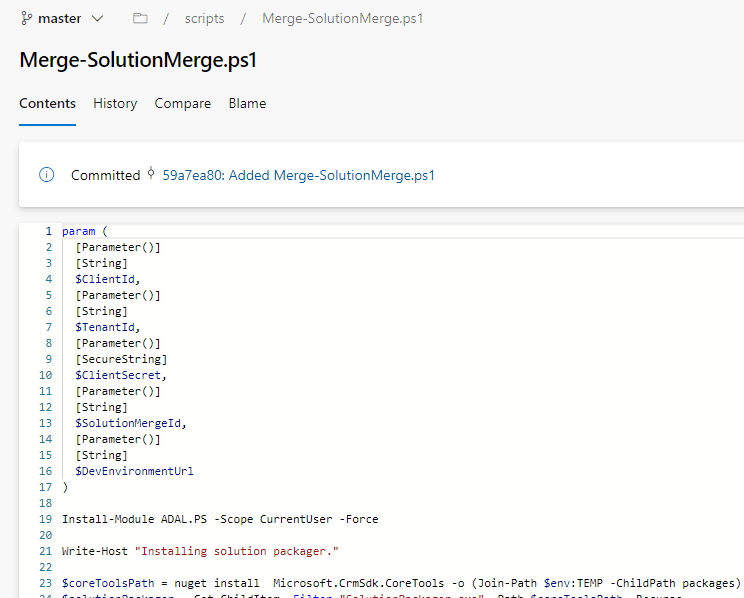
First, open this link and copy the contents into a new file within the repo in Azure DevOps created in Generate a new project lab. The file should be within a scripts folder and called Merge-SolutionMerge.ps1. Save the file and commit to the main branch.
Next, open this link to the pipeline template and copy the contents into a new file within a pipelines folder and called azure-pipelines-extract.yml. Save the file and commit to the main branch.
Now that you have the supporting files in the repo, you can create the build. Within Azure DevOps, go to the ‘Pipelines' section then click ‘New Pipeline'.
Select ‘Azure Repos Git' then your repo.

Select ‘Existing Azure Pipeline YAML file' then select the pipeline file you just created.
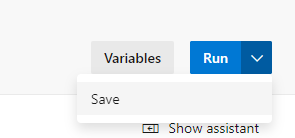
Then select ‘Save', you don't need to run this.
Take note of the definitionId within the URL. For example 5 in the URL https://dev.azure.com/cap-alm-lab/ALMLab/_build?definitionId=5.
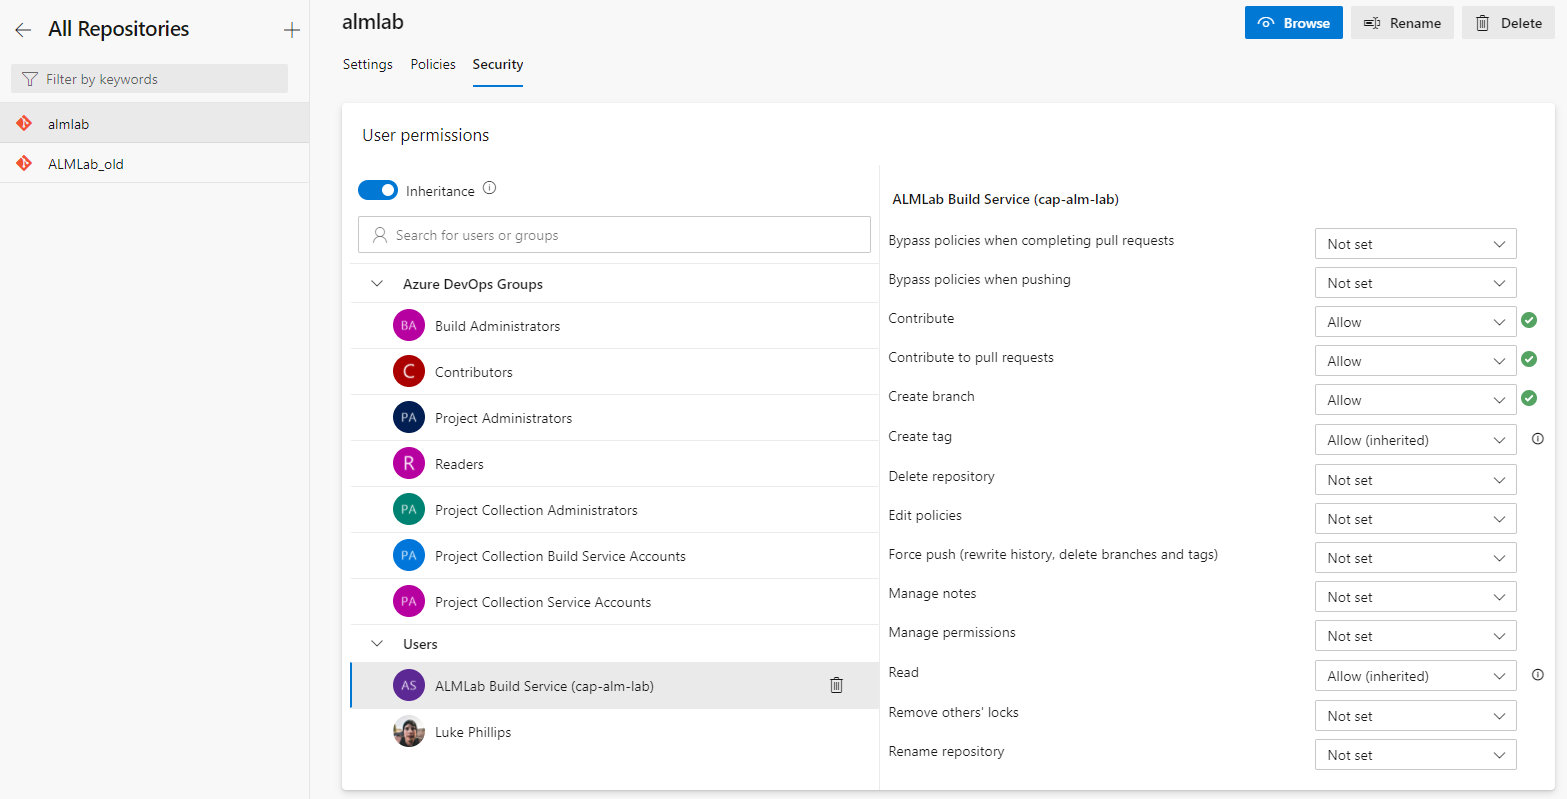
Next, you need to ensure that permissions are configured correctly for this repository on Azure DevOps. Navigate to Project Settings then Repositories in your Azure DevOps project. Select your repository and assign the following privileges to the project Build Service user:
- Contribute
- Contribute to pull requests
- Create branch
Final Thoughts
By following this guide, you should now be well-equipped to set up your Power Platform environments for use with the development hub. From creating your environments to managing roles, each step is crucial in ensuring a smooth and effective development process. With this setup, you're now ready to start building and developing on the Power Platform. Happy building!
Comments