
Mini-series
This article is part of a mini-series about the Development Hub.
Part 1 - Introduction
Part 2 - Environment Setup
Part 3 - Configuring Development Hub (this article)
Part 4 - Development Hub usage
Introduction
This step-by-step tutorial will guide you on setting up the Development Hub. In the previous two articles we set up our environment, installed the Development Hub, created our repository in Azure DevOps, set up our pipeline and created the necessary flows.
Create your base solution
Open the Maker portal and switch environments to the Dev environment
Navigate to Solutions in the left-hand pane and select + New solution
Enter the following details:
Field | Value | Example | |
Display name | Pick whatever you want | ALMLAB Sample | |
Name | Pick whatever you want | MSACE_ALMLAB_Sample | |
Publisher | Please create this yourself with the prefix given | ||
Version | The initial solution version. | 1.0.0 | |
Select Create
Register your Azure DevOps project
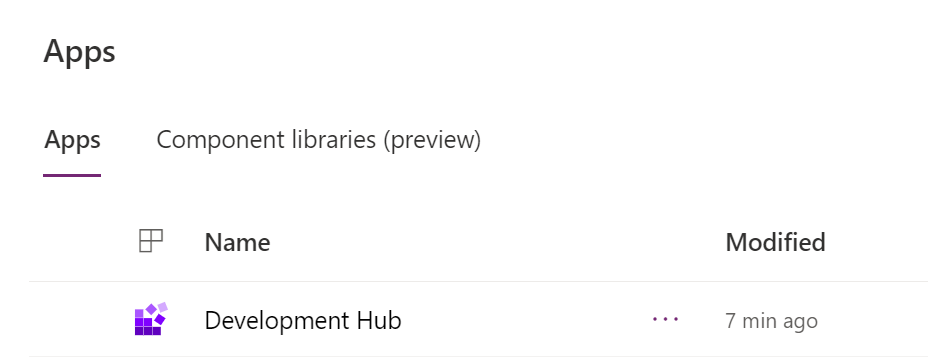
Back in the Maker Portal, using the navigation on the left, click on ‘Apps' then select the ‘Development Hub' app.
Next, select ‘Projects' on the left then ‘New' along the top.

This record only requires a name which should be the name of your Azure DevOps project.

Register your git repository
Next, register a Git repository within the project you've just created by creating a new Repository record.
Field | Value Description |
Project | This should be pre-populated when creating from the Project record. |
Name | The name must match the repository name on Azure DevOps and it must exist in the chosen project. |
Extract Build Definition ID | The definition ID of the pipeline you just created in the previous part of this miniseries. |
Target Branch | The branch you would like to either push to or create pull requests into. |
Source Control Strategy | This should be ‘Pull Request' for most projects although you can use ‘Commit' if you don't intend to review code changes. |
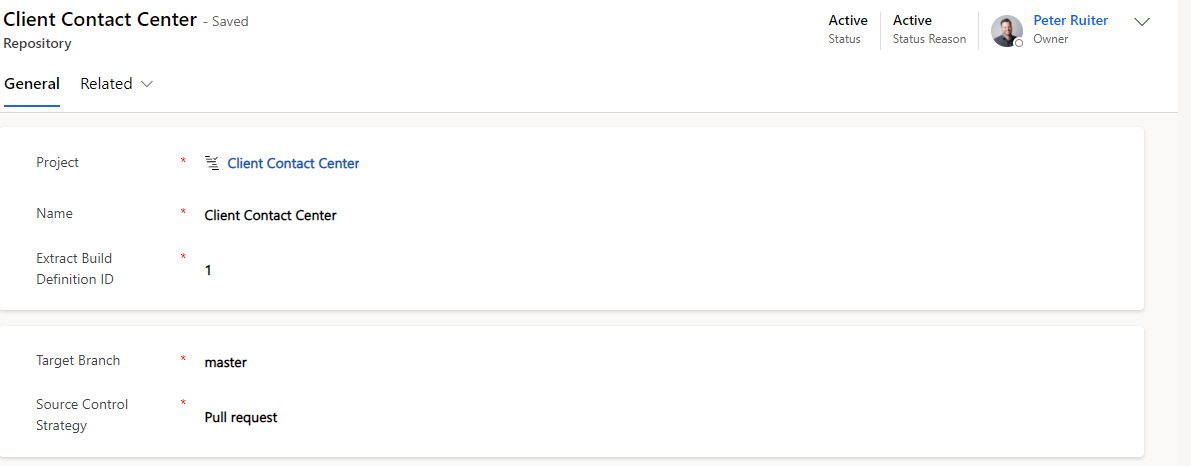
Click ‘Save and close' to confirm this.
Register your master environment
The next step is to register the master environment by creating a new Environment record. Staying in Development Hub, select ‘Environments' under ‘Develop' on the left.
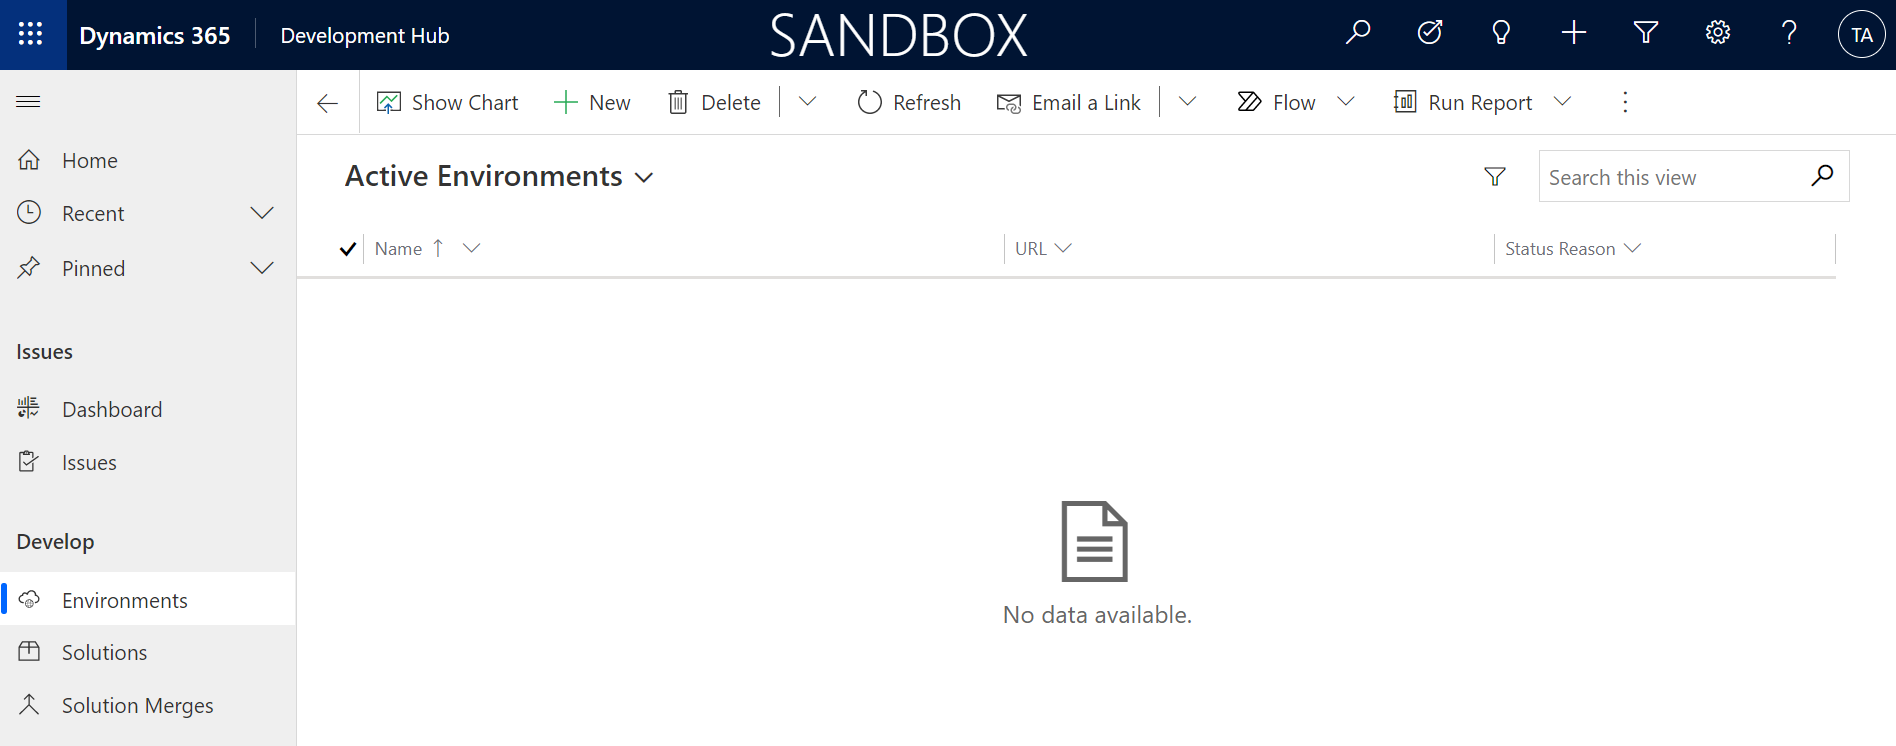
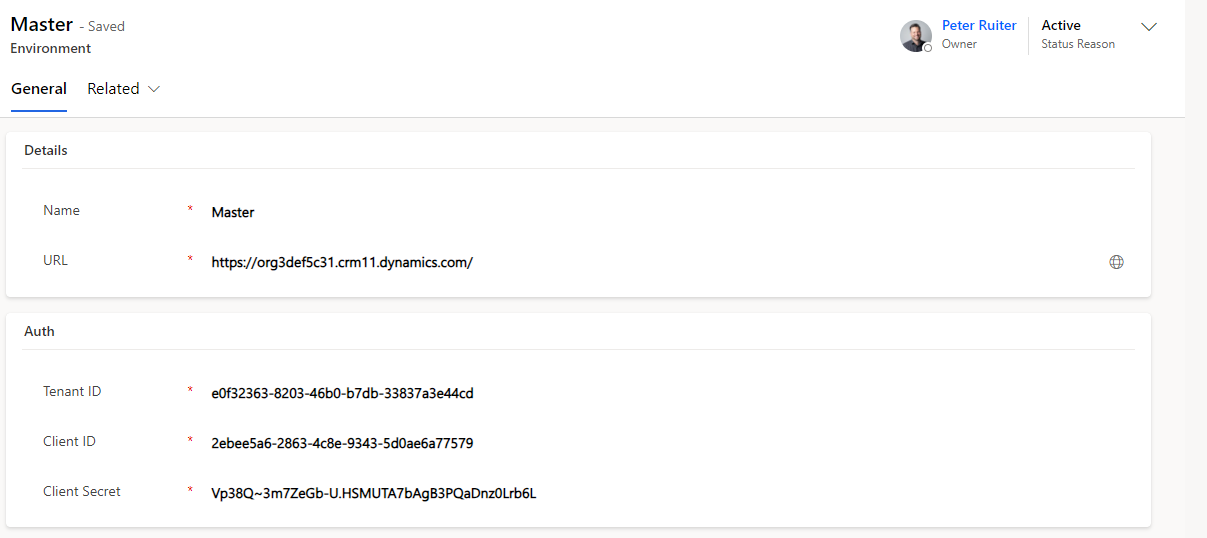
Select ‘New' along the top then populate the following details.
Field | Value Description |
Name | This can be anything but ‘Master' would be consistent. |
URL | This should be the URL of the Master Environment created in Environment Setup part of the previous article in this miniseries. |
Tenant ID | This should be the Tenant ID from the Azure App Registration created in Environment Setup part of the previous article in this miniseries. |
Client ID | This should be the Client ID from the Azure App Registration created in Environment Setup part of the previous article in this miniseries. |
Client Secret | This should be the Client Secret from the Azure App Registration created in Environment Setup part of the previous article in this miniseries. |
Register your solution
The last step is to register a solution within a repository by creating a new Solution record. Go back to the Repository record you created (‘Repositories' on the left then select the record you created) and find the ‘Active Solutions' grid on the ‘General' tab.
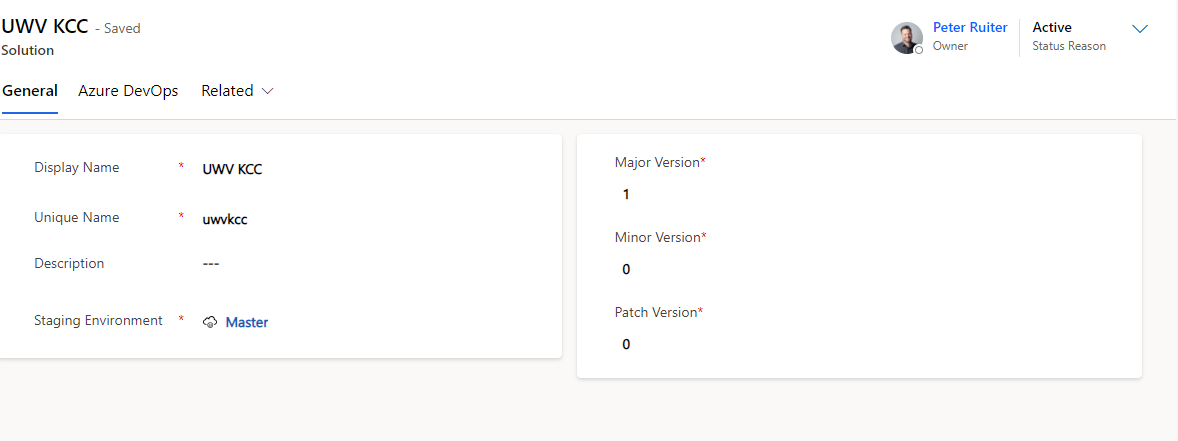
Click ‘New Solution' and enter the following details.
Field | Value Description |
Display Name | This should be the Name of the solution created in Tutorial - Generate a new project. |
Unique Name | This should be the Unique Name of the solution created in the first stap of this article E.g. |
Description | This can be anything. |
Staging Environment | This should be the Environment record you created in the last step. |
Version | This should match the version of the solution created in the first step of this article. E.g |
Repository (On the Azure DevOps tab) | This should be pre-populated to the record you're on. E.g. |
Click ‘Save and Close' to confirm those values.
Final Thoughts
By following this guide, you now have the Development Hub completely set up!
In the next part of this article we are going to guide you through the usage of the DevHub. Stay tuned!
Comments